In recent years, gardening has increasingly moved beyond the purely utilitarian task of growing vegetables for the table. For many gardeners, especially in the Southeastern regions of the United States, the garden is becoming a space for creativity, aesthetics, and personal experimentation. One of the most visible expressions of this shift is the growing interest in vegetables of unusual colors. Purple carrots, black tomatoes, striped beets, and brightly colored chard are no longer perceived as exotic curiosities and are becoming a natural part of the modern home garden.
Unusual coloration attracts attention, enlivens garden beds, and gives the garden a decorative quality. However, the popularity of such vegetables is not based on appearance alone. Color is directly linked to the biological characteristics of plants, their resistance to environmental conditions, and their nutritional value. In addition, colorful vegetables help change attitudes toward healthy eating, making it more engaging and accessible, especially for children.
For gardeners in the Southeast, where heat, humidity, and a long growing season define the gardening experience, these crops offer additional opportunities. They make it possible to experiment with form, color, and garden layout without sacrificing productivity or practicality.
Color as a Natural Source of Diversity
 The coloration of vegetables is the result of natural pigments that plants produce to protect themselves from sunlight, pests, and other stress factors. These pigments are responsible for purple, red, blue, and even nearly black shades. In the natural environment, they help plants survive, while for humans they become a source of visual and nutritional diversity.
Many vegetables familiar to us today originally looked quite different. Historically, carrots were purple or yellow, tomatoes were darker in color, and cabbage displayed a wide range of leaf shades. Orange, pale green, and white varieties became dominant only through selective breeding aimed at standardizing appearance and simplifying storage and transportation.
Modern interest in unusual colors can therefore be seen as a return to natural diversity. Instead of uniformity, individuality and visual character are increasingly valued. For gardeners, this means an opportunity to move beyond the traditional vegetable garden and create a space that remains visually appealing throughout the growing season.
Color is often associated with taste and texture as well. Darker varieties frequently have richer and more complex flavors, which makes them especially attractive to gardeners who enjoy culinary experimentation alongside cultivation.
Colorful Vegetables Suitable for Home Gardens
Today, the range of seeds for unusually colored vegetables has expanded significantly, and many varieties are well suited to the conditions of the Southeastern United States. Especially popular are crops that combine decorative value with ease of cultivation.
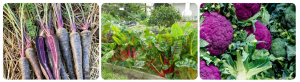
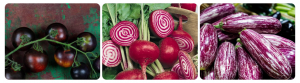
Purple and multicolored carrots are among the most recognizable examples. These varieties may have deep-colored skins and bright cores, creating a striking contrast when cut. Beets offer similar variety, ranging from golden and white types to striped roots, making them visually interesting both in the garden and on the plate.
Unusually colored potatoes—purple, red, or with marbled flesh—are increasingly common in home gardens. They not only stand out visually but also tolerate a wide range of soil conditions, which is important in regions with variable moisture levels.
Cabbage-family crops deserve special attention. Purple cauliflower, red cabbage, and decorative broccoli varieties serve as strong visual accents. Their dense heads and saturated colors often retain their decorative qualities even during cooler parts of the season.
Leafy vegetables provide additional possibilities. Rainbow chard with its bright stems, along with red and purple lettuce varieties and ornamental cabbage, creates the effect of continuous color and texture. These plants are especially effective along garden paths or in raised beds.
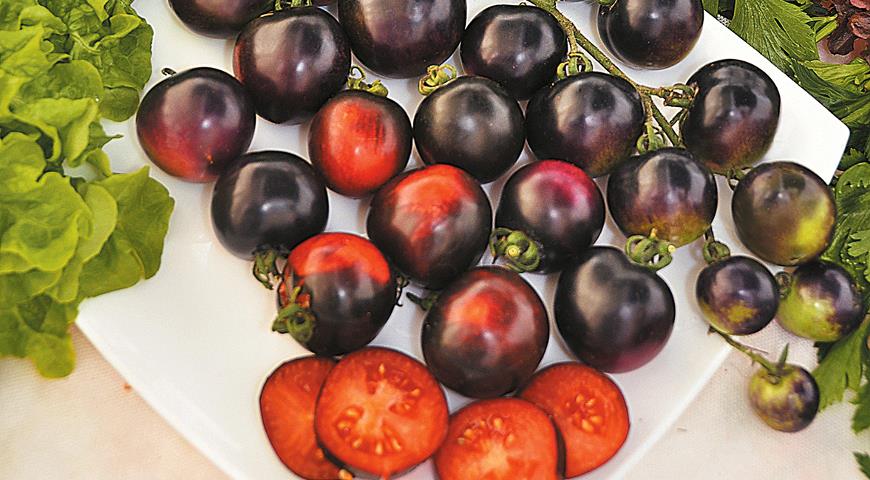
Among fruiting crops, dark tomatoes, striped eggplants, and light-colored pepper varieties stand out. They fit easily into standard planting layouts while visually distinguishing themselves from traditional green plantings.
Growing Practices and Garden Design Value
 For owners of home gardens, colorful vegetables are not only a source of harvest but also an element of garden design. In the Southeast, where the growing season is long, their decorative effect can last for several months.
Contrasting shades help structure garden space. Dark foliage or fruits can emphasize bed borders, while bright stems and leaves act as visual reference points. This approach is particularly useful in smaller gardens, where each plant is expected to serve more than one function.
Colorful vegetables combine well with ornamental plants. Purple lettuce can harmonize with flowering perennials, while brightly colored roots or stems create visual balance alongside green shrubs. Such mixed plantings allow aesthetics and productivity to exist together.
From a practical perspective, most unusually colored vegetables do not require special conditions compared to traditional varieties. Fertile, well-drained soil supports healthy growth and color intensity. In the hot climate of the Southeast, mulching is especially important for moisture retention and root protection. Regular watering without overwatering helps prevent stress, which can affect coloration.
Timely harvesting also matters, as overripe vegetables may lose brightness and texture. During cooking, some vegetables may change color. This does not reduce their nutritional value, but it can influence appearance, encouraging gardeners to experiment with preparation methods.
Conclusion
Vegetables of unusual colors allow gardeners to look at gardening differently. They combine beauty and practicality, transforming the garden into a space that provides both food and visual enjoyment. In the climatic conditions of the Southeastern United States, such crops expand the possibilities of what a home garden can be.
Color becomes a form of self-expression, a way to diversify the diet, and a means of engaging new generations in gardening. By experimenting with shades and forms, gardeners create spaces that reflect curiosity, personal taste, and respect for natural diversity.
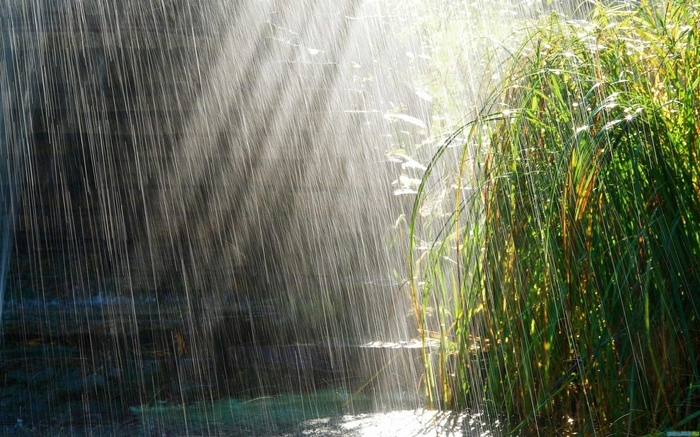
 Rainwater harvesting starts with a simple idea: rain falls on a roof or another horizontal surface, is collected, and directed into a storage container. The most popular methods include using downspouts, barrels, and large tanks.
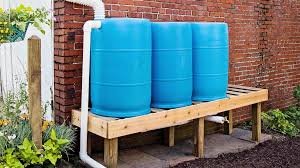 A DIY approach allows gardeners to set up a rainwater system even on a small plot without significant financial investment. The simplest option is a 50–80 gallon (200–300 liters) barrel placed under a downspout. Rainwater flows from the roof into the barrel, from where it can be used for watering with a hose or watering can. This method is cost-effective, easy to set up, and significantly reduces tap water consumption.
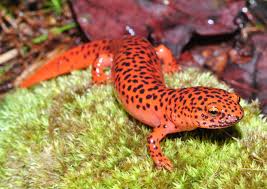 Frogs, toads, and salamanders often go unnoticed, yet their presence carries significant meaning. Amphibians are highly sensitive to environmental changes, moisture levels, and soil quality. Where they thrive, pollution tends to be low and natural balance relatively intact.
 Mammals tend to create the greatest challenges for gardeners. Squirrels, rabbits, raccoons, opossums, and, in some areas, deer frequently visit gardens in search of food. Their size, intelligence, and persistence make them difficult to ignore.
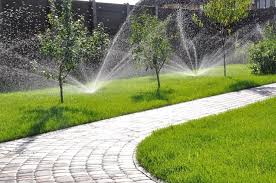 One of the most noticeable innovations for the home garden is smart irrigation systems. They work based on soil moisture, temperature, and light sensors, often integrated with mobile apps and Wi-Fi connectivity. The system delivers water only when necessary, preventing both dehydration and overwatering of plants.
 Sensors and apps allow gardeners to monitor soil moisture, temperature, light, pH, and nutrient levels. Many systems incorporate artificial intelligence that analyzes leaf photos to detect early signs of diseases or pest infestations.
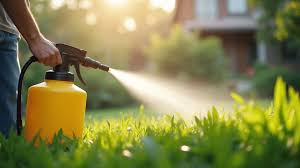 Reading Labels and Dosages
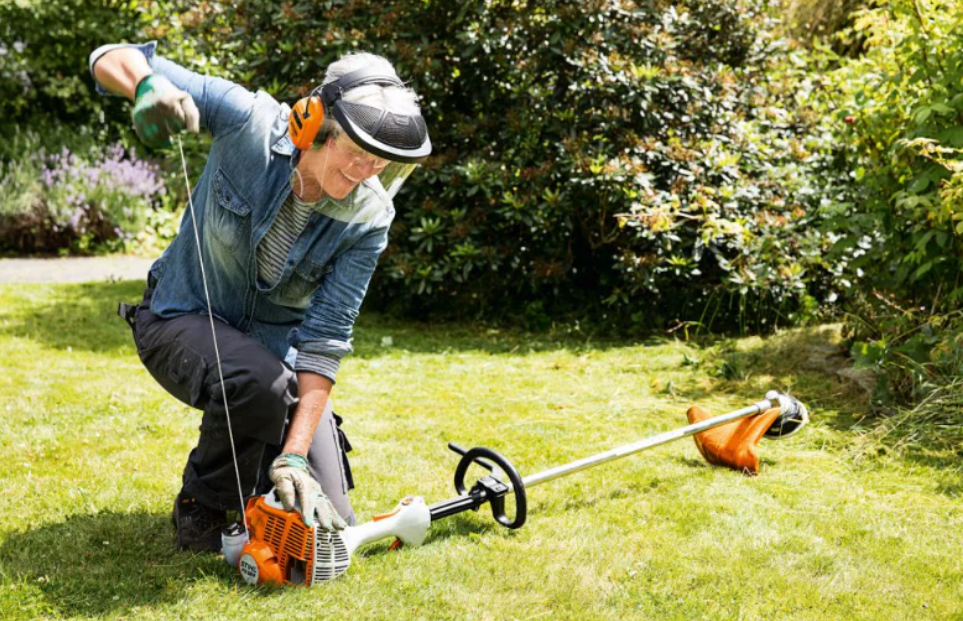
 Many gardeners underestimate the danger posed by tools. Even light handwork can result in injury if you don’t consider leverage, tool design, and the environment.
 Clothing is a key factor in protection. Poorly chosen gear can increase overheating, while the right clothing can significantly reduce heat stress.
 Body Mechanics: How to Move and Work Without Harm
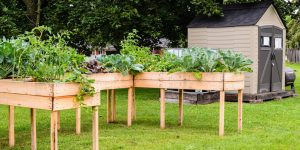 Ergonomics, Fatigue, and Recovery as Part of Safety
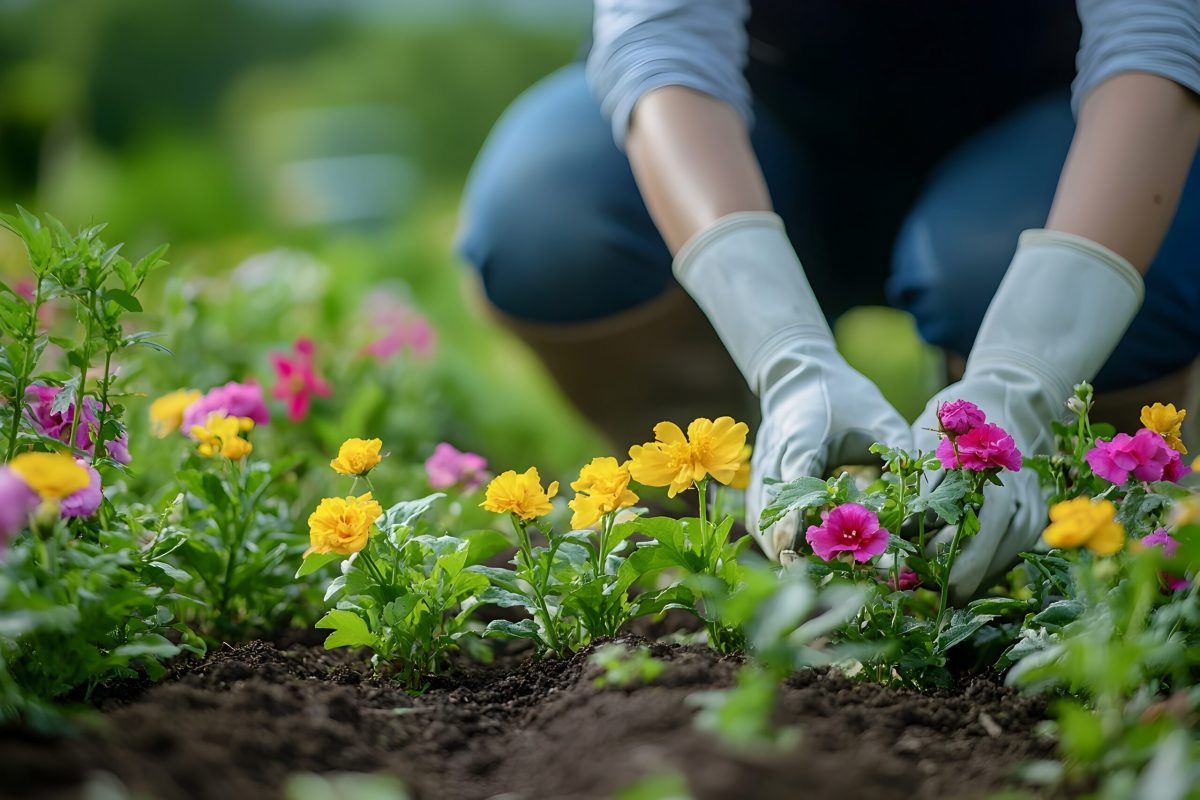
 The Garden as a Space for Emotional Regulation and Meaning